Showing posts with label led. Show all posts

SMD LED's Seem Quite Small...

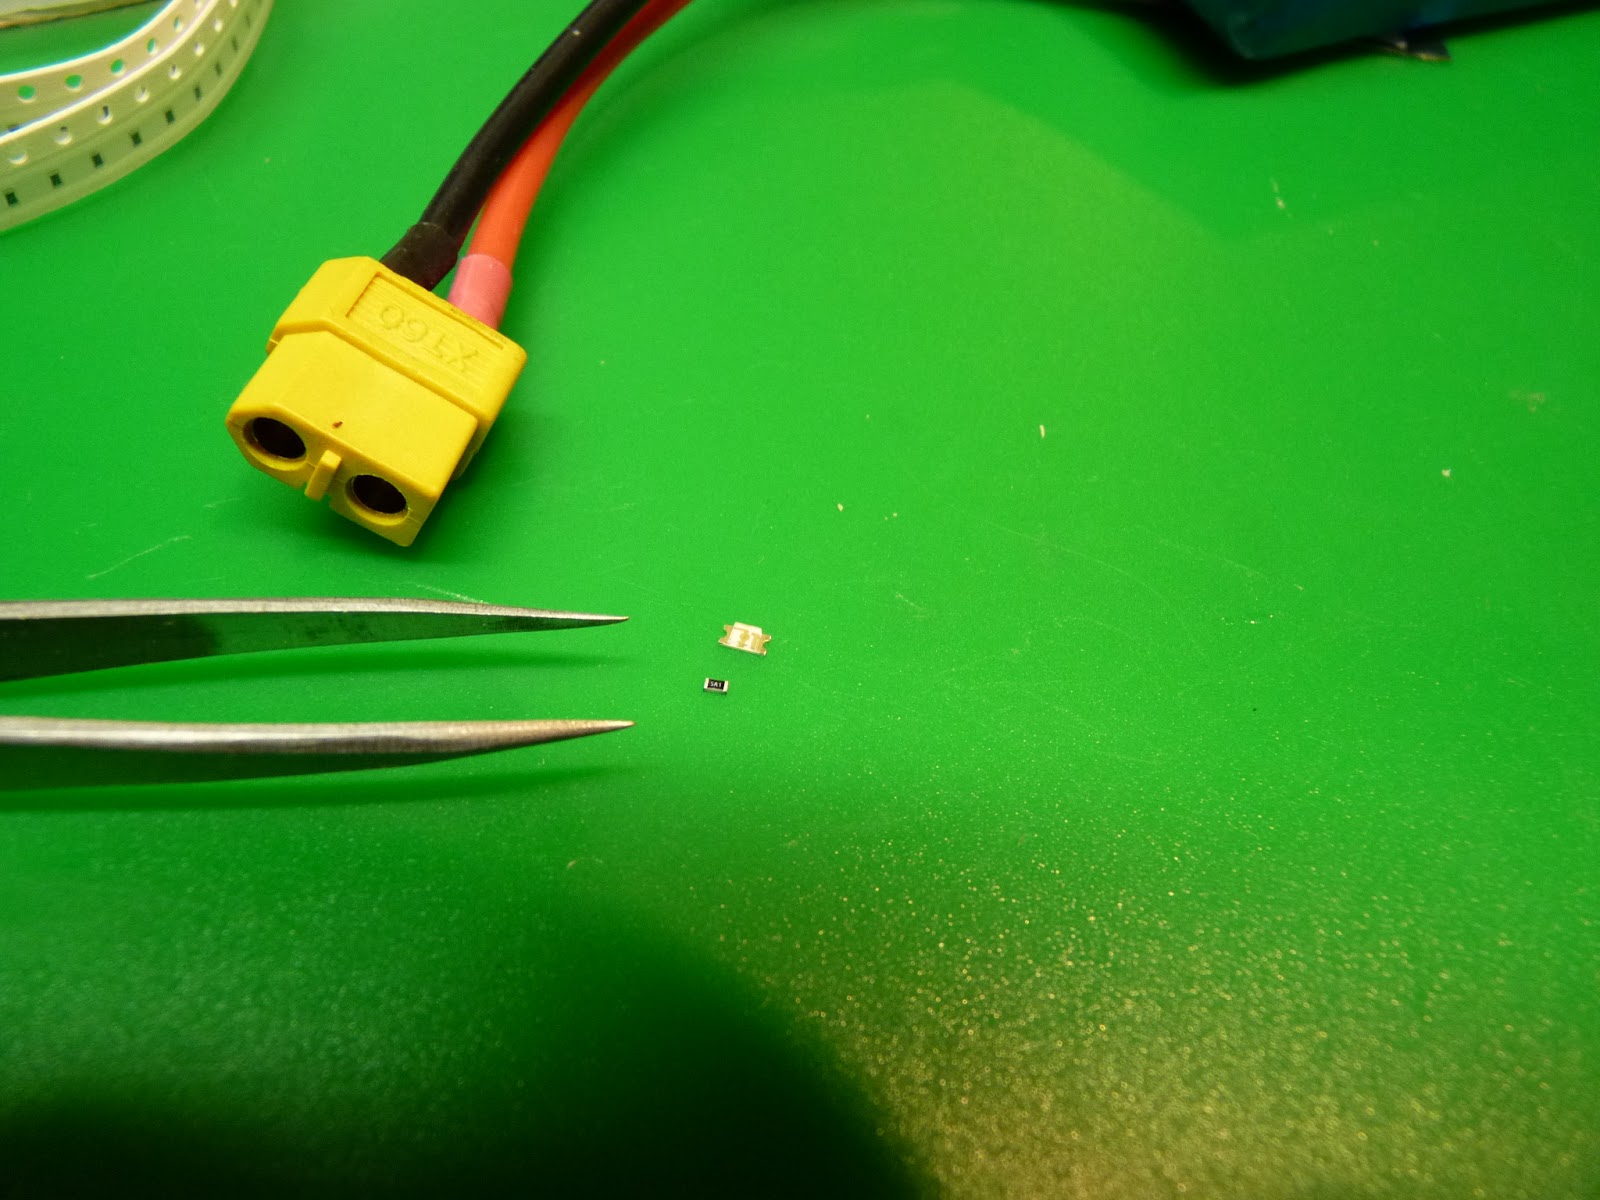
 ... Until you get the bright idea to use SMD resistors to save weight! See the tiny white thing?  That's the LED.  And the little spec beside it, that's the resistor.  I had no idea they would be so small... it didn't occur to me that the ebay vendors would be photographing those things in such closeup.  I'm going to try to see if there's a larger size of SMD resistor.  Ideally I would be able to solder the resistor directly to the LED, forming one piece to mount.  BTW the white thing in the upper-left is the package of 50 resistors.
Here they are getting ready to be soldered.  It turns out that it's possible, but I didn't get any pictures of the soldering process, mainly because I wasn't optimistic enough to have a camera ready.  I'll follow up with some notes on how I did it and some pictures.

This is for adding some nav lights to the ladybird.  If there were some ready-made ones I think I would buy them without hesitation, but it's been educational learning how to deal with such tiny pieces.

Adding some LEDs to the ArctiBaby

 I put some LEDs onto the ArctiBaby, hoping to make orientation a bit more visible.  Here's the 2S connector for attaching to the battery. I put an 82 ohm on the wire, which split to 4 power wires to each of the LEDs.  I'm using 28 gauge servo wire.
 Here's my mockup to make sure I was getting the circuit right.  I put one resistor in series with four parallel LEDs.  I'm going to ask some gurus if that's the right thing to do, but it seems to be working.
 Here's how I attached the wiring.  I zip-tied the end of each wire (where the LEDs are) to the end of each arm, with the LEDs pointing out.  The front had two 5mm frosted amber LEDs, and the back had two 5mm clear reds.  I put some scotch magic tape over the reds to get some frosting effect. It didn't work very well.
 Here's the final result.  I'll give it a try tomorrow and see how the visibility is.  Right off the bat I can tell you that amber/red is a pretty poor color combination for orientation differentiation.
I was using my jumbo 500 random LEDs for $2 package.  About 90% of the LEDs are red, and most of the other 5mm LEDs were amber.  There were a few tiny (2mm?) green LEDs.  So that's how I picked the color scheme.  I've ordered some 5mm frosted blue LEDs; I'll replace one color or the other and see if that makes it better.
SMD LED Notes and Tester

 Here's some more information on SMD LEDs.  First, they are small. really really small.  And impossible to tell apart regarding the color.  To sort out the colors I received in a package, I put together this LED tester.  It's got two servo pins to pick up and power the LED, and a 120 ohm resistor so that it can be powered by a 1S lipo.  So far it's working well, and the tips don't touch when the tweezer is squeezed together.  Everything's assembled with shrink tube.  Be careful, because if the LED slips (as I learned by hard experience) it will shoot out of the grip of the pins and be long gone.

Here's the resistor values I'm using, based on the LED data card from the ebay vendor.  Two nice resistance calculators are here (with color codes) and here (with parallel and series calculations).

SMD LED Sizes

Here's an illustration of the various sizes of SMD LEDs.  They're pretty cheap on ebay.  0603 Soldering tutorial.  Several more on youtube.  I'm trying to figure out what size is best for the Ladybird.

Note: on the back side there's an arrow. The arrow points to the negative wire.


Dimensions:


  • 0603. Footprint: 1.60 x 0.80 x 0.40mm.
  • 0805. Footprint: 2.0 x 1.25 x 0.8mm.
  • 1206. Footprint: 3.20 x 1.60 x 1.1mm.


This is the 1206 data from the ebay vendor:


Older Post ►
eXTReMe Tracker
 

Copyright 2011 Hobby-RC s is proudly powered by blogger.com